


There are so many fun ways to print!
Plus I had the chance to be invited in a great podcast!

Hello my friends,
Recently, I had the chance to start a partnership with Xtool. The company provides laser cutting machines and more recently a screen printing system where you laser cut a screen to create the stencil. They actually launched a Kickstarter. Check it out!

If you are not familiar with screen printing, the tasks to accomplish to create a stencil on a screen can be really complicated: first you need space, a dark room, access to water and a high pressure water system. You also need a whole kit with an UV light, chemicals (even if water based) and screens.
At my studio, we can’t make ready to go screens. We don’t have a dark room, and we don’t have easily access to water. So up to now, I prepared the screens at home, bring them to the studio, print there, try to wash the paint as good as I can and bring them back home to finish the cleaning. Screenprinting requires a whole setup and process.
Bobbinhood offered a kit where you do paper stencil so you don’t have to use an emulsion and water to prepare the screen. But paper is less reliable to me. It is fun to use, but when you want detailed work, it is not really good. The other thing is their screen is made for textile.
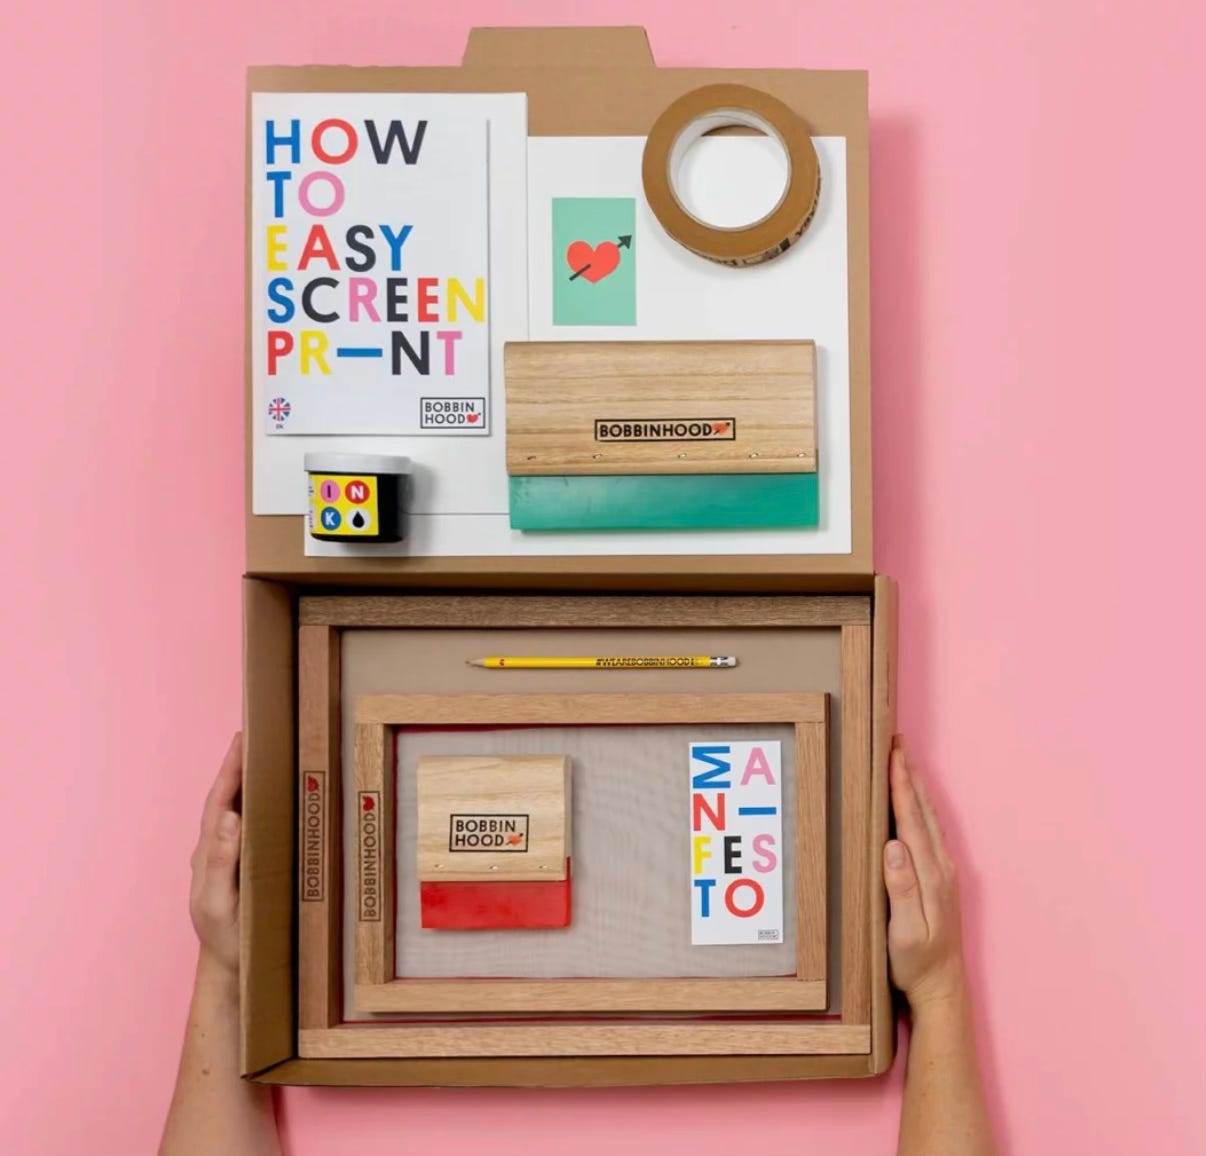
You have to understand that you don’t print with the same screens for paper than for fabrics. A screen for fabrics has a more “open” mesh so more ink goes on textile, whereas for paper you want to reduce the amount of ink that crosses the screen. But Bobbinhood offered just a screen for fabrics, which means that when you print on paper you can see the layer of paint. This is thick and not really qualitative.
Over the time, I got a bit “sick” of preparing the screens at home. You have to clean the screen, then put emulsion on it, wait for it to dry, all under yellow light, no direct outside light allowed. Then, you do the stencil with your design under an UV light. To make things simple, you print your design on transparent paper, put it on your screen, put the light above and the stencil will appear after washing the screen everywhere the design was on transparent paper. When the screen is washed out, you make it dry again and put it under the UV light for 20 minutes so the emulsion is really stuck on the screen.
Sorry if it may seem a bit complicated for you to understand. But what I want to show here is that it takes minimum half a day to have the screen ready to print.
That is where Xtool came to me. They offer screens you just put in a laser cutting machine and it does all the dirty work and your screen is ready in less than 2 hours. They did approach me end of last year offering me to test their setup. I usually don’t do partnership but here it is directly related to my daily work, especially analog work, so I said yes. Here is a reel I did last week:
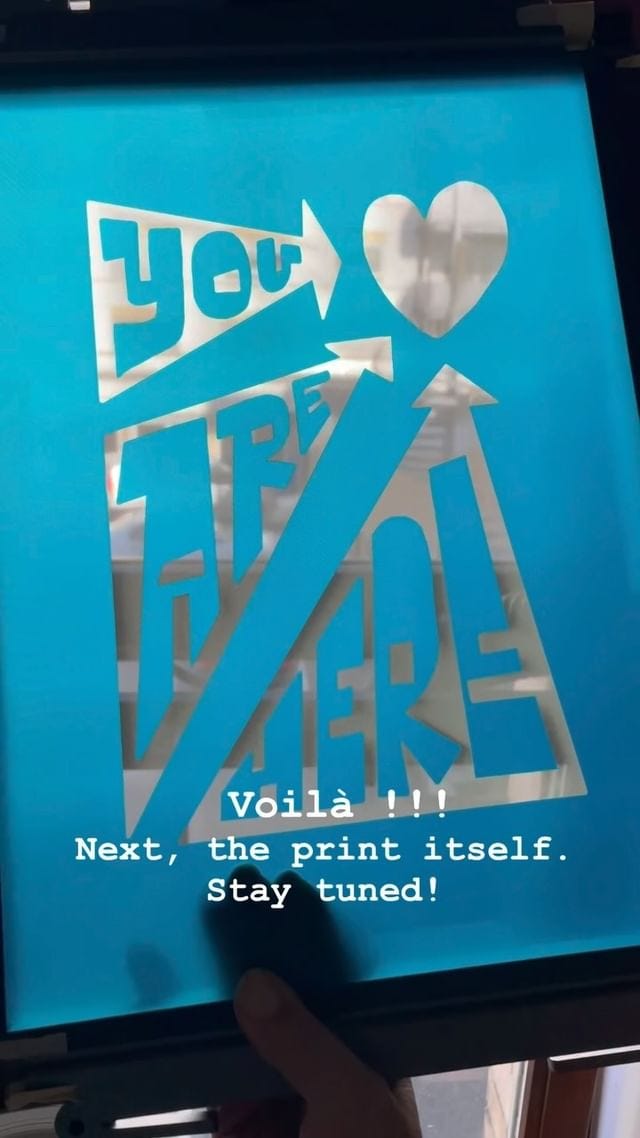
On the paper the idea is great. The result is great too. But, because there are always “but(t)s”, it still takes 2 hours to do the screen I show you above in the reel. Also, screens are not reusable so one screen = one design. That is not really a problem for me because, even if you can clean a “normal” screen printing screen, I don’t do it. Usually I want to keep the design in case I want to print them again. Many people do the same. And the last issue are fumes. Burning emulsion with laser creates a lot of fumes. The laser cutting machine comes with an expulsion air tube, which is cool and logical. But it means you can only burn the screens in an open room, with windows. And make sure the fumes don’t come back or stay in the room because this is not healthy.
Screenprinting is not a really “climate-friendly” activity. When you clean screens with water, the emulsion goes in the water, so it is not better than fumes I suppose.
I did not start printing yet, I will do it within 2 weeks but being able to create stencils/screens at the studio is already a big plus. Also, the screen printing table is really functional. Way better than usual ones.
So we will see how it goes and if I do all my screens this way. But the laser cutting machine could also be fantastic to cut wood blocks and use them on the letterpress. I could design on the iPad, send it to the machine, get a wood carved design, ink it and print it on the letterpress. This could also be really cool.
Between screen printing, wood carving, wood type, paper stencil, gel printing (which I should detail a bit more one of these days…) and maybe others I forget, there are so many fun ways to print!
Now, no more talking/writing, I would like to share with you some great artists who use these different kinds of printing methods. Regarding screen printing, I showed you last time I think, the work of Jean Mosambi. Let’s share some other great people doing great stuff with ink :)
Brad is, to me, the best to work with wood type and wood carved blocks to create great prints with great colors. Check it out:

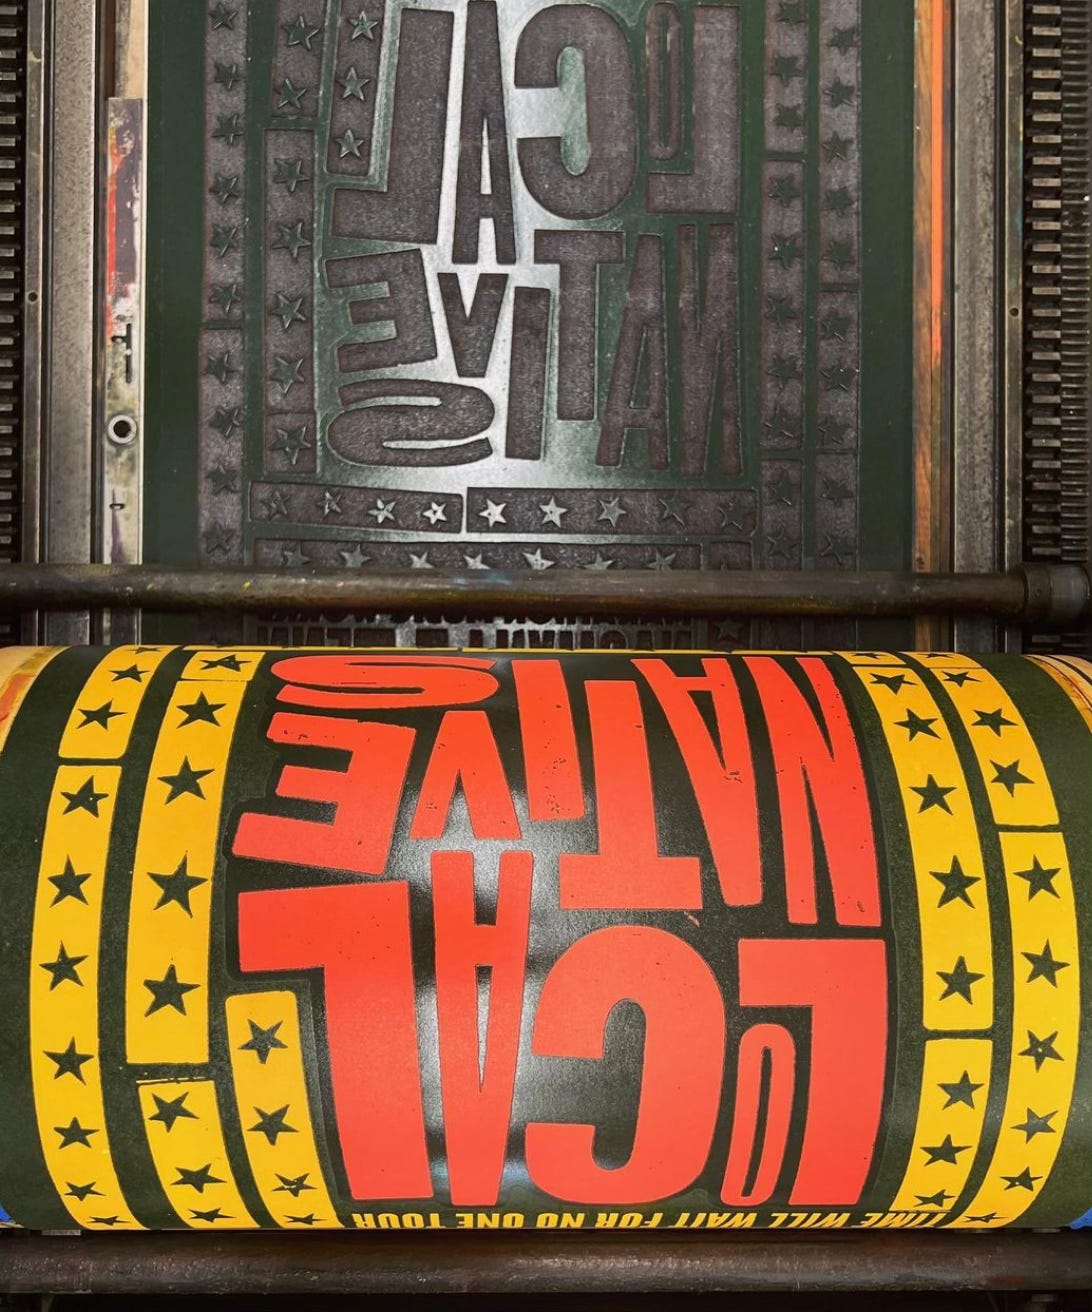
His blocks are laser cut if I remember well our discussion ^^ It could be linocut but the outcome would be really different. I am so in love with his work and everything so cool that can be done with a letterpress.
Fabio makes great use of his letterpress too. This time with messages through his wood type. This is something I would really like to dig in: mix illustration, or other techniques with wood type printing. Check out his work:


His illustrations seem to be made with linocut. The result is really impressive.
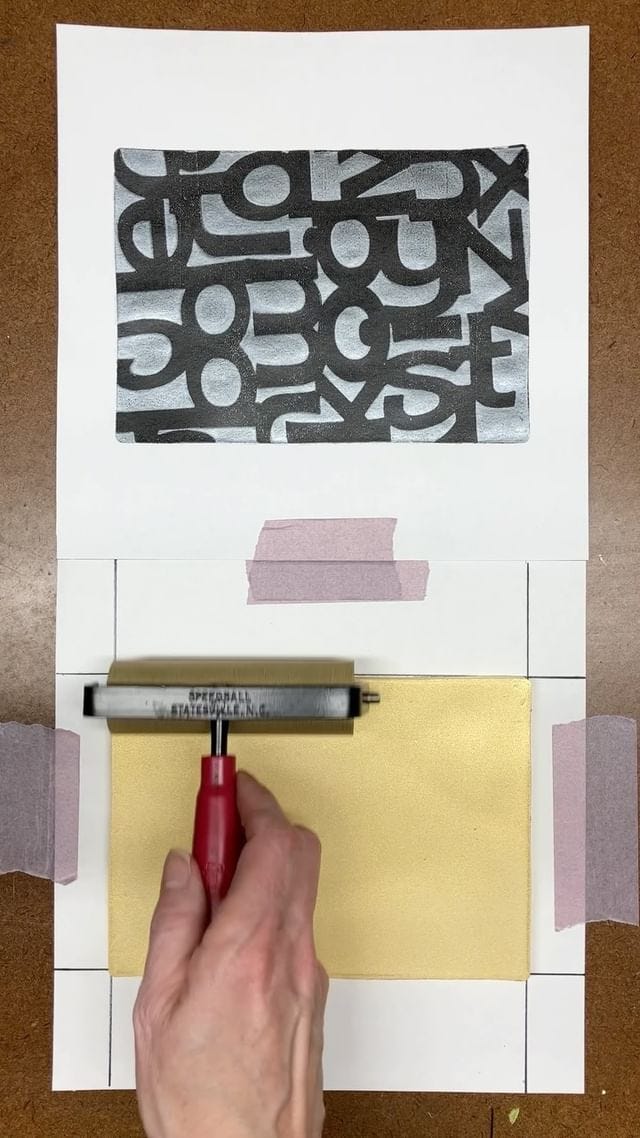
Gel printing with Diana Garrison from Crooked Little Studio and Doodles and Co.
Gel printing is very popular these days. I did buy a gel plate few weeks ago and did my Doves overlapped print using that technique. The print is available on my shop.

How I do it is pretty simple, with two layers of colors and one paper stencil. I explained the process two weeks ago. But check out that type illustration made by Diana with metallic colors:
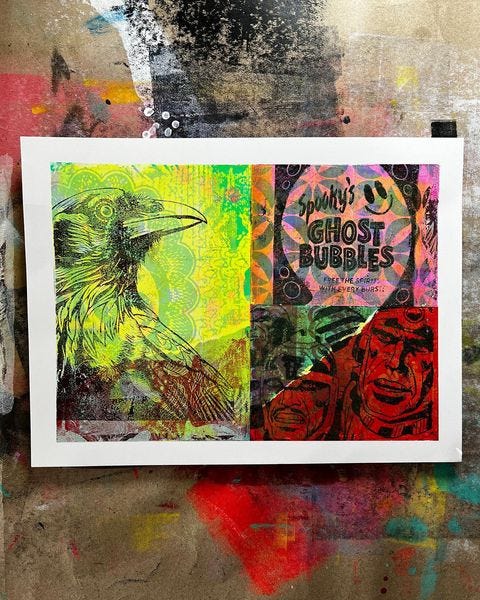
Another great gel printing work is this one from Doodles & Co, with many layers, texture and great colors. Check the end result and below the process:

And to finish this week’s inspiration, here is the work of Holly Roach, especially her mid century prints made with paper cuts. Check out this video to see the process :) She does use paper cut screen printing but also gel printing to create textures. This is so so fun to watch!!

I am really in love with printing lately, and I should say analog printing. Results are always unique and artistic.
Learn more about me, my process and routine on Hello, Type Friends podcast :)
I had the great chance to be interviewed by Elliot Jay Stocks on his podcast, Hello, Type Friends.

The story behind this invitation is huge for me because I have always a fan of Elliot’s work and projects. And I can say that his project 8faces which some of you may know, really influenced me to work seriously with letters. I met Elliot the first time in 2008 I think at one of his workshops in London. He has a great career related to letters as he is behind the project 8faces which is a magazine where he interviewed type people. He did 8 issues of it. He then worked as Creative Director at Adobe fonts (Typekit) and recently worked with Google Fonts. In two months, his book “universal principles of typography” will be published.
So it was an honour for me to be invited. I talked about my work but more about my routine, my organisation and how I switch between work and family. Here is the link to the episode, and let me know what you think :)
This is it for this week. No newsletter next week as I will be on the road with the family for a short break.
See you in 2 weeks and don’t forget to share this newsletter if you like it, this is part of my business and my communication :)
Take care,
Francis